
The Mason Bible is a unique edition linking Masonry and the Holy Word, offering historical insights and symbolic interpretations. Available as a PDF, it remains a cornerstone in Freemasonry.
1.1 Overview of the Mason Bible
The Mason Bible is a special edition of the Holy Scriptures, uniquely prepared for Freemasonry, linking Masonic principles with biblical teachings. It emphasizes the interrelation of Masonry and the Holy Word, offering symbolic interpretations and historical insights. This edition is dedicated to God, the Square, and the Compasses, reflecting its significance in Masonic traditions. Available as a PDF, it remains a vital resource for modern Freemasonry.
1.2 Historical Significance of the Mason Bible
The Mason Bible holds profound historical significance, tracing its roots to 17th-century Scotland and the Scottish Masonic Catechism. It reflects early tensions between Masonry and the Church of Scotland, which once feared Masonic practices; This edition bridges biblical narratives with Masonic rituals, offering insights into the evolution of Freemasonry. Its enduring relevance is evident in its digital availability as a PDF, ensuring its teachings remain accessible to modern practitioners.
The Masonic Bible and Its Contents
The Masonic Bible intertwines Masonry with biblical teachings, featuring illuminated frontispieces and key verses. It serves as a vital resource for rituals, bridging spiritual and fraternal practices.
2.1 The Inter-Relation of Masonry and the Holy Word
The Masonic Bible explores the deep connection between Masonry and the Holy Word, blending biblical teachings with Masonic principles. It highlights how verses from the King James Version are integral to rituals, degree ceremonies, and moral lessons. This synthesis emphasizes the Bible’s role as a moral guide, fostering personal growth and fraternal unity among Masons. The PDF edition preserves these timeless teachings.
2.2 Key Verses and Their Masonic Interpretations
The Mason Bible highlights key verses like Psalm 118:22, Proverbs 3:13-14, and 1 Corinthians 13:13, interpreting them through a Masonic lens. These verses are central to rituals, emphasizing moral lessons and fraternal values. The PDF edition organizes these teachings, offering insights into their symbolic meanings and their role in guiding Masonic principles, such as brotherly love and truth. These interpretations deepen the connection between faith and Masonry;

Historical Background of the Mason Bible
The Mason Bible traces its roots to the 17th-century Scottish Masonic Catechism, reflecting early connections between Masonry and biblical teachings, with historical ties to the Church of Scotland.
3.1 The Scottish Masonic Catechism
The Scottish Masonic Catechism, dating back to the 17th century, is a foundational document linking Masonry to biblical teachings. It was central in early Masonic practices and reflects the historical ties between Freemasonry and the Church of Scotland. This catechism, now available as a PDF, highlights the interplay between Masonic rituals and scriptural influences, offering insights into the evolution of Masonic literature.
3.2 The Church of Scotland and Masonry
The Church of Scotland historically scrutinized Masonry, fearing ties to witchcraft. In the 1650s, masons were summoned before the church’s general assembly. This interaction reflects the complex relationship between religious institutions and Masonic practices. The Mason Bible PDF highlights such historical dynamics, showcasing how biblical teachings intertwined with Masonic rituals, influencing the evolution of Masonic literature and its enduring legacy in modern Freemasonry.

Masonic Rituals and Biblical References
Masonic rituals deeply incorporate biblical verses, with key references in the three degrees. The Mason Bible PDF highlights these connections, linking sacred texts to Masonic teachings and symbolism.
4.1 Masonic Ritual Degree Verses
The Mason Bible PDF highlights three key verses tied to Masonic degrees: Entered Apprentice, Fellow Craft, and Master Mason. These verses—Psalm 118:22, Proverbs 3:13-14, and Ecclesiastes 12:13-14—are central to rituals, emphasizing moral lessons and divine wisdom. They are direct biblical quotes, serving as foundational teachings in Masonic philosophy and practices, reflecting the interconnection of faith and fraternity.
4.2 The Role of the Bible in Masonic Rituals
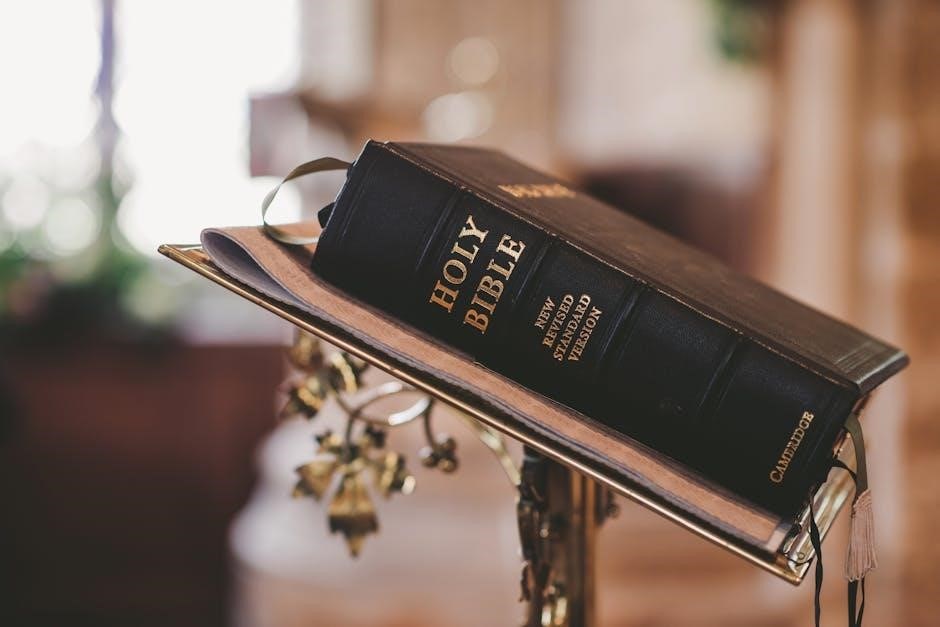
The Bible holds a central place in Masonic rituals, often opened during ceremonies to symbolize divine guidance. Its teachings illuminate moral principles, with verses used to consecrate meetings and guide members. Rituals frequently reference biblical stories and parables, reinforcing ethical values. The Bible is also a unifying element, reminding Freemasons of their obligations to faith and fraternity, making it indispensable in both symbolism and practice.
Occult Influences in Freemasonry
Freemasonry incorporates occult symbols and teachings, blending them with biblical narratives. High-ranking Masons have acknowledged these influences, highlighting connections between pagan roots and Masonic philosophy.
5.1 Pagan Roots and Biblical Symbolism
Freemasonry blends pagan symbolism with biblical themes, creating a unique interpretative framework. Historical texts reveal connections between ancient rituals and Masonic practices, such as the use of compass and square. The Church of Scotland’s 17th-century concerns about witchcraft highlight early tensions. Modern interpretations emphasize symbolic bridges between pagan roots and biblical narratives, enriching Masonic philosophy with diverse influences.
5.2 Quotes from High-Ranking Masons
Prominent Masons have emphasized the Craft’s philosophical depth, often linking it to biblical and esoteric traditions. Quotes reveal a synthesis of pagan and biblical symbolism, illustrating Masonry’s universal appeal. These insights highlight the interconnectedness of diverse traditions, offering a rich tapestry of thought that continues to inspire modern interpretations of Masonic teachings and their enduring relevance in contemporary practices.

Digital Availability and Download Options
The Mason Bible is widely available as a PDF, accessible for free download on various platforms. Its digital format ensures easy access, preserving its historical significance for modern readers.
6.1 Freemason Bible PDF Download
The Freemason Bible PDF is readily available for download on various platforms. It is free to access and offers a convenient way to explore the interconnection between Masonry and biblical teachings. The PDF version ensures that the text is easily readable on digital devices, making it a popular choice for modern Freemasonry enthusiasts and scholars alike. Its digital format preserves the historical and symbolic significance of the original work.
6.2 Platforms for Accessing the Mason Bible
The Mason Bible is accessible through various digital platforms, including Google Books, YouVersion Bible App, and dedicated Masonic websites. These platforms offer free downloads and online reading options, making it convenient for individuals to explore the text. Additionally, repositories like Scribd and academic databases provide easy access to PDF versions, ensuring widespread availability for both research and personal study purposes.

The Mason Bible in Modern Freemasonry
The Mason Bible remains a vital text in modern Freemasonry, guiding principles and rituals. Its teachings continue to influence contemporary practices, ensuring its enduring influence on Freemasonry.
7.1 The Significance of the Mason Bible Today
The Mason Bible holds profound significance today, serving as a bridge between historical Masonic teachings and modern practices. Its verses guide moral and ethical conduct, fostering unity and enlightenment among Freemasons. The PDF availability ensures accessibility, preserving its influence for contemporary brethren seeking spiritual and philosophical insights. It remains a cornerstone in the evolution of Freemasonry.
7.2 Its Role in Contemporary Masonic Practices
The Mason Bible remains integral to modern Masonic rituals, offering moral and philosophical guidance. Its digital availability as a PDF enhances accessibility, allowing brethren to study its teachings anytime. The interplay of biblical verses with Masonic principles continues to inspire contemporary practices, fostering a deeper understanding of ethical values and spiritual growth within the fraternity.

Comparative Analysis with Other Masonic Texts
The Mason Bible is compared to works like “The Mysteries of Free Masonry” and the Scottish Masonic Catechism, offering unique insights into Masonic philosophy and symbolism.
8.1 The Mysteries of Free Masonry by William Morgan
William Morgan’s “The Mysteries of Free Masonry” is a controversial exposé of Masonic rituals. Unlike the Mason Bible, Morgan’s work critiques Freemasonry, revealing its alleged secrets. Published in 1826, it sparked widespread debate and led to Morgan’s mysterious disappearance. While the Mason Bible focuses on biblical connections, Morgan’s text offers a critical perspective, contrasting its approach with the Mason Bible’s reverential tone and symbolic interpretations.
8.2 Scottish Masonic Catechism
The Scottish Masonic Catechism, dating back to the 17th century, is a foundational text of Freemasonry, distinct from the Mason Bible. It outlines Masonic beliefs and practices through a question-and-answer format, reflecting the traditions of Scottish Freemasonry; Unlike the Mason Bible, which intertwines Masonry with biblical teachings, the Catechism focuses on specific Scottish rites and philosophical underpinnings, providing historical insight into early Masonic thought.

Reviews and Reception of the Mason Bible
Scholars and Freemasonry members praise the Mason Bible for its insightful blend of biblical teachings and Masonic philosophy, offering a deeper understanding of Masonic traditions and symbolism.
9.1 Scholarly Reviews and Analysis
Scholars have praised the Mason Bible for its unique blend of biblical teachings and Masonic philosophy, highlighting its historical significance and symbolic depth. Many reviewers note its illuminated pages and insightful commentary, which bridge ancient traditions with modern interpretations. The text is often described as a foundational resource for understanding the interplay between Freemasonry and scripture, offering a rich tapestry of spiritual and fraternal wisdom.
9.2 Feedback from Freemasonry Members
Freemasonry members widely appreciate the Mason Bible for its rich symbolism and historical depth. Many describe it as a cornerstone of their studies, offering profound insights into Masonic rituals and biblical connections. The availability of the Mason Bible PDF has been particularly praised for its convenience, allowing members to easily access and reflect on its teachings, enriching their fraternal and spiritual journey.
Historical Context of the Mason Bible
The Mason Bible traces its origins to 17th-century Scotland, with roots in ancient Masonic texts and traditions. Its evolution reflects the blending of biblical teachings with Masonic principles, creating a unique historical and symbolic resource for Freemasonry.
10.1 The 17th Century Scottish Masonic Catechism
The 17th-century Scottish Masonic Catechism is a foundational text, blending biblical references with Masonic principles. It was developed during a time when the Church of Scotland scrutinized Masonry, fearing ties to witchcraft. This document laid the groundwork for the Mason Bible, emphasizing moral and symbolic teachings. Available as a PDF, it remains a vital historical resource for Freemasonry studies.
10.2 The Evolution of Masonic Literature
Masonic literature has evolved significantly, transitioning from oral traditions to written texts. The Scottish Masonic Catechism laid the groundwork, influencing later works like the Mason Bible. This special edition, available as a PDF, integrates biblical teachings with Masonic philosophy, reflecting the craft’s spiritual and moral principles. Its evolution highlights Freemasonry’s enduring quest to merge faith and fraternal values.
The Mason Bible and Its Relevance Today
The Mason Bible remains a cornerstone in modern Freemasonry, blending biblical teachings with Masonic principles. Its availability as a PDF ensures accessibility, preserving its influence in contemporary practices.
11.1 Modern Interpretations of Masonic Teachings
The Mason Bible continues to inspire modern Masonic thought by blending ancient traditions with contemporary perspectives. Its teachings emphasize moral values, brotherhood, and self-improvement, resonating with today’s seekers of wisdom. The PDF version enhances accessibility, allowing a new generation to explore symbolic interpretations and spiritual growth. This enduring text remains vital, fostering unity and relevance in Freemasonry’s evolving landscape.
11.2 The Bible’s Enduring Influence on Freemasonry
The Bible remains central to Freemasonry, guiding moral and philosophical teachings. Its verses are integral to rituals, emphasizing truth, justice, and compassion. High-ranking Masons have highlighted its significance, ensuring its influence endures. The Mason Bible PDF preserves these teachings, making them accessible to modern practitioners, thus maintaining the Bible’s central role in shaping Masonic values and practices worldwide.
The Mason Bible remains a vital text in Freemasonry, blending biblical teachings with Masonic principles. Its digital availability ensures its enduring relevance and accessibility for modern practitioners and scholars alike.
12.1 Summary of the Mason Bible’s Importance
The Mason Bible is a foundational text in Freemasonry, blending biblical teachings with Masonic principles. It serves as a guide for moral and spiritual growth, offering insights into historical and symbolic connections. Available as a PDF, it remains accessible to modern practitioners, ensuring its relevance in understanding the craft and its enduring influence on Freemasonry worldwide.
12.2 Final Thoughts on Its Significance
The Mason Bible stands as a timeless bridge between ancient wisdom and modern practices, offering profound insights into Freemasonry’s core values. Its digital availability ensures accessibility, preserving its teachings for future generations. Rich in symbolism and moral guidance, it remains a vital resource for understanding the craft’s enduring legacy and spiritual foundations.