Sturgeon fishing guides offer expertise, ensuring a successful and enjoyable experience․ They provide insights into prime locations, tackle selection, and ethical practices, enhancing your fishing adventure while promoting conservation․

Why Hire a Sturgeon Fishing Guide?
Hiring a sturgeon fishing guide offers numerous benefits for both novice and experienced anglers․ Guides provide invaluable local knowledge, ensuring you fish in the most productive spots․ They help you navigate complex waterways and understand seasonal patterns, maximizing your chances of a successful catch․ Additionally, guides are well-versed in the best rigs, lures, and techniques tailored to sturgeon behavior․ This expertise saves time and enhances your fishing experience․ Guides also handle logistics, allowing you to focus on the thrill of fishing․ Furthermore, they emphasize responsible and sustainable practices, promoting conservation․ The cost, while an investment, often includes gear, permits, and insights that would otherwise require significant time and effort to acquire․ A guided trip ensures safety, learning, and memorable moments, making it a worthwhile choice for any angler seeking a rewarding sturgeon fishing adventure․
The Role of Guides in Sturgeon Fishing
Sturgeon fishing guides play a crucial role in ensuring a successful and memorable fishing experience․ They provide expert knowledge of local waterways, helping anglers navigate complex river systems and locate prime fishing spots․ Guides are skilled in identifying habitats and behavioral patterns of sturgeon, allowing clients to target fish more effectively; They also assist with gear setup, demonstrating the best rigs and lures for sturgeon․ Beyond technical support, guides ensure safety by monitoring water conditions and weather․ Many guides also emphasize conservation, promoting sustainable fishing practices and educating clients on catch-and-release techniques․ Their expertise saves time, reduces guesswork, and enhances overall enjoyment․ By handling logistics and offering personalized instruction, guides enable anglers of all skill levels to focus on the thrill of reeling in these iconic fish, creating lasting memories on the water․

Best Locations for Sturgeon Fishing
Renowned hotspots include the Columbia River, Fraser River, and Caspian Sea, known for abundant sturgeon populations and prime fishing conditions, attracting anglers worldwide for unforgettable adventures․

Popular Rivers and Hotspots
Sturgeon fishing is thriving in iconic rivers like the Columbia River, Fraser River, and Caspian Sea, each offering prime habitats for these ancient fish․ The Columbia River is renowned for its abundant sturgeon populations, particularly near dams and deep pools․ Similarly, the Fraser River in Canada is a hotspot during summer and early fall, attracting anglers seeking trophy-sized fish․ The Caspian Sea, home to multiple sturgeon species, is another key location, with its brackish waters providing ideal conditions․ Additionally, the Mississippi River and Yangtze River are emerging as promising destinations, with seasonal peaks in sturgeon activity․ Guides often highlight these spots, ensuring anglers maximize their chances of a successful and memorable fishing experience while adhering to local conservation efforts․
Seasonal Migration Patterns
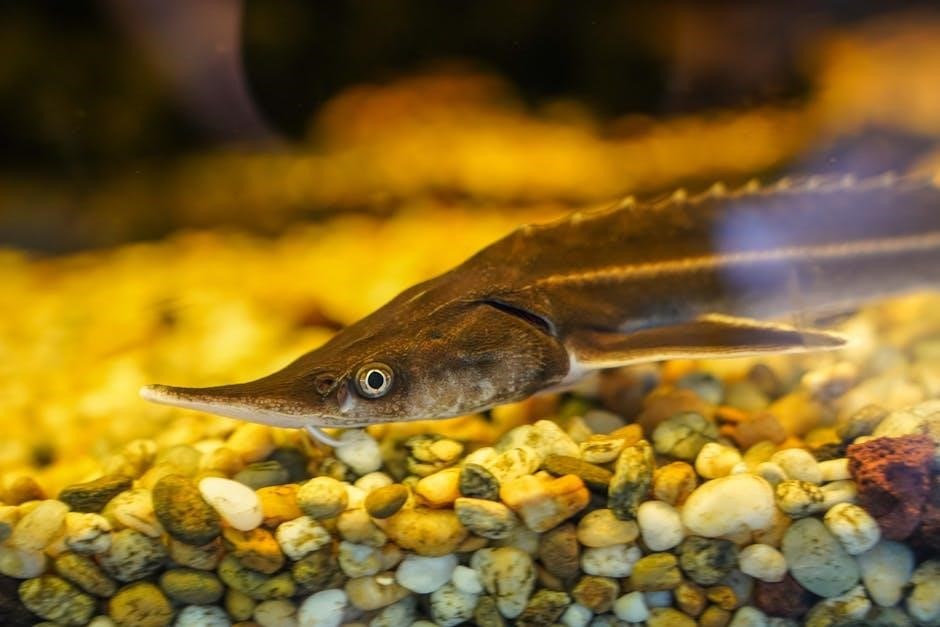
Sturgeon exhibit distinct seasonal migration patterns, influenced by water temperature, spawning cycles, and food availability․ In the spring, sturgeon often migrate upstream to shallow, gravelly areas for spawning, while in summer, they seek cooler, deeper waters to escape heat․ By fall, they begin moving downstream toward wintering areas, where they congregate in slower-moving sections of rivers․ These migrations are crucial for their survival and reproduction․ Understanding these patterns is key for anglers, as sturgeon are most active during specific times of the year․ Fishing guides leverage this knowledge to locate schools and optimize fishing success, ensuring clients experience the best chances of catching these elusive fish while respecting their natural behaviors and habitats․
Sturgeon Fishing Gear and Tackle
Sturdy rods, reels, and lines are essential for sturgeon fishing due to their strength․ Heavy-duty gear ensures durability, while proper tackle setup maximizes catch success and efficiency․
Recommended Rigs and Lures
When targeting sturgeon, the right rig and lure are crucial for success․ A sturdy bottom rig with a heavy sinker is ideal for reaching these bottom-dwelling fish․ Lures like lake lures or bait such as nightcrawlers, chicken livers, or fish guts are highly effective․ Guides often recommend using bait that emits a strong scent to attract sturgeon․ The setup should include a heavy-duty rod and reel with a strong line to handle the fight․ Proper presentation, such as maintaining a steady bottom bounce, is key to enticing bites․ Guides can provide expert advice on optimizing your rig and lure selection based on water conditions and seasonal patterns, ensuring a productive fishing experience․
Choosing the Right Fishing Gear
Selecting the proper gear is essential for a successful sturgeon fishing experience․ A medium to heavy action rod, 7-9 feet in length, paired with a reel capable of holding at least 150 yards of 15-25 lb test line, is ideal․ A baitcasting or spinning reel with a smooth drag system is recommended․ Use a sinker weighing 2-8 ounces, depending on water depth and current․ A sturdy hook, size 4 to 6, and a swivel to prevent line twisting are crucial․ Leaders made of heavy monofilament or braided line, 12-18 inches long, add durability․ Nightcrawlers, chicken livers, or fish guts are popular baits, often used with a lake lure for attraction․ Guides can help optimize gear based on specific fishing conditions, ensuring you’re well-equipped for the challenge of landing these powerful fish; Proper gear maintenance is also key to a successful outing․
Regulations and Conservation
Regulations protect sturgeon populations, ensuring sustainable fishing practices․ Guides emphasize adherence to fishing licenses, permits, and catch limits to conserve these ancient fish for future generations․
Fishing Licenses and Permits
Obtaining the proper fishing licenses and permits is essential for sturgeon fishing․ Regulations vary by region, and guides ensure compliance with local laws to avoid penalties․ Many areas require special permits for sturgeon, especially for endangered species․ These permits often include tag limits to monitor catches and protect populations․ Guides typically assist clients in securing the necessary documentation, ensuring a smooth experience․ Additionally, some jurisdictions mandate permits for specific gear types, like snags or gillnets․ Non-compliance can result in fines or confiscation of equipment․ By adhering to licensing requirements, anglers support conservation efforts and maintain healthy sturgeon populations for future generations․ Guides play a crucial role in navigating these regulations, making the process hassle-free for clients․
catch-and-release Practices
Catch-and-release practices are crucial in sturgeon fishing to conserve these ancient species․ Guides emphasize proper handling techniques to minimize stress and injury, ensuring the fish survive after release․ Using barbless hooks and gentle handling methods are standard practices․ Many regions enforce catch-and-release regulations for sturgeon to protect declining populations․ Guides often educate clients on the importance of these practices and how they contribute to sustainability․ Quick release after landing is encouraged to reduce exhaustion and stress on the fish․ Additionally, guides may use specialized nets and tools to handle sturgeon carefully․ By adhering to catch-and-release guidelines, anglers help preserve sturgeon populations for future generations while enjoying the thrill of reeling in these magnificent creatures․
Fishing Etiquette and Safety
Fishing etiquette involves respecting the environment, other anglers, and local regulations․ Safety is paramount, with guides ensuring proper gear use and adherence to weather conditions for a secure experience․
Responsible Fishing Practices
Responsible fishing practices are essential for maintaining healthy sturgeon populations and ecosystems․ Guides emphasize handling fish gently to minimize injury, ensuring they can thrive after release․ Using appropriate gear and avoiding excessive force helps preserve the fish for future generations․ Practicing catch-and-release fishing is highly encouraged, especially for sturgeon, as it supports conservation efforts․ Additionally, anglers should avoid overcrowding fishing spots, as this can stress the fish and degrade habitats․ Guides often provide guidance on ethical practices, such as respecting spawning areas and avoiding disruptive behaviors․ By adhering to these practices, anglers contribute to the long-term sustainability of sturgeon populations while enjoying their fishing experience responsibly․
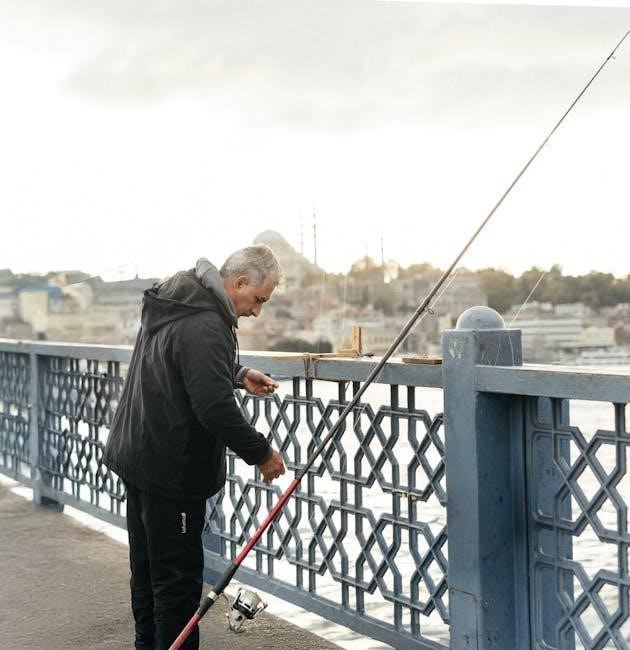
Safety Tips for Sturgeon Fishing
Safety is paramount when engaging in sturgeon fishing․ Always wear a properly fitted life jacket, as rivers and lakes can be unpredictable․ Ensure your boat is in good condition, with all necessary safety gear on board․ Be aware of your surroundings, including weather conditions, water currents, and other anglers․ When handling sturgeon, use care to avoid injuries from their sharp scutes and powerful movements․ Guides often emphasize the importance of secure footing and balanced posture while fishing․ Additionally, familiarize yourself with local emergency protocols and carry a first-aid kit․ Avoid fishing alone whenever possible, and inform someone of your itinerary․ By prioritizing safety, you can enjoy a rewarding and incident-free sturgeon fishing experience․