
This manual serves as an essential guide for understanding and maintaining your 2004 Jeep Grand Cherokee; It covers maintenance, operation, and troubleshooting to enhance your ownership experience. The 2004 Jeep Grand Cherokee is a versatile SUV designed for both on-road comfort and off-road adventure, offering advanced features and robust performance. This manual provides detailed information on engine options, trim levels, and safety features, ensuring you get the most out of your vehicle. By following the guidelines outlined, you can optimize performance, longevity, and safety. Proper care and understanding of your Jeep Grand Cherokee will ensure years of reliable service and enjoyment on the road.
1.1 Purpose and Scope of the Manual
This manual is designed to assist 2004 Jeep Grand Cherokee owners and drivers in understanding their vehicle’s operation, maintenance, and safety features. It provides detailed instructions for optimal performance, troubleshooting, and care. The manual covers essential information on vehicle systems, maintenance schedules, and safety precautions to ensure a safe and enjoyable driving experience. It is a comprehensive guide for both novice and experienced users. Proper use of this manual will help extend the life of your vehicle and enhance your ownership experience. By following the guidelines, you can ensure your Jeep Grand Cherokee operates at its best. This resource is indispensable for anyone seeking to maximize their vehicle’s potential and longevity. It serves as a one-stop reference for all aspects of vehicle care and operation, ensuring you are well-informed and confident behind the wheel. The manual is structured to be user-friendly, making it easy to locate specific information quickly; Whether you’re maintaining, repairing, or simply learning about your vehicle, this manual is your go-to source. It emphasizes safety, proper maintenance, and efficient operation to provide a seamless ownership experience. The 2004 Jeep Grand Cherokee manual is tailored to meet the needs of drivers who value both performance and reliability. It is a vital tool for anyone who owns or operates this versatile SUV. The information provided is accurate and up-to-date, ensuring you have the most current guidance for your vehicle. By adhering to the manual’s recommendations, you can protect your investment and enjoy years of trouble-free driving. This manual is your key to unlocking the full potential of your Jeep Grand Cherokee, offering peace of mind and confidence on every journey; It is an essential companion for every driver, providing clear and concise instructions for every aspect of vehicle ownership. The manual’s scope is comprehensive, covering everything from routine maintenance to advanced troubleshooting techniques. It is designed to empower owners with the knowledge they need to keep their vehicle in peak condition. The 2004 Jeep Grand Cherokee manual is a valuable resource that ensures your SUV remains a reliable and enjoyable companion for years to come. It is a testament to the engineering and design excellence of the Jeep brand, offering a detailed and user-friendly guide for all owners. This manual is your gateway to understanding and optimizing your vehicle’s performance, safety, and longevity. It is a must-have for anyone who wants to get the most out of their Jeep Grand Cherokee. The information contained within is designed to be accessible, ensuring that drivers of all experience levels can benefit from its guidance. The manual’s purpose is to educate and empower, providing a clear path to vehicle mastery. It is a trusted source of information that will serve you well throughout your ownership journey. The 2004 Jeep Grand Cherokee manual is a comprehensive and indispensable resource for every owner. It is your guide to unlocking the full potential of your vehicle, ensuring safety, performance, and longevity. With this manual, you can confidently navigate the world of vehicle ownership, knowing you have the knowledge and tools to maintain and enhance your SUV. It is a vital companion for every adventure, offering peace of mind and assurance on every drive. The manual’s scope and purpose are aligned with the needs of modern drivers, providing a detailed and user-friendly guide for all aspects of vehicle care. It is a testament to the commitment of Jeep to delivering exceptional ownership experiences. This manual is your key to understanding and optimizing your Jeep Grand Cherokee, ensuring it remains a trusted and reliable companion for years to come. It is a must-have resource for every owner, offering clear and concise guidance for every situation. The 2004 Jeep Grand Cherokee manual is a comprehensive guide designed to empower owners with the knowledge they need to maintain and enjoy their vehicle. It is a vital tool for anyone who values performance, safety, and longevity. The information provided is detailed and accessible, making it easy for drivers of all experience levels to benefit. This manual is your go-to source for all aspects of vehicle ownership, ensuring you are always informed and confident. It is a trusted resource that will serve you well throughout your journey with the Jeep Grand Cherokee. The manual’s purpose is to educate and empower, offering a clear and concise guide to vehicle care and operation. It is a must-have for anyone who wants to get the most out of their SUV. The 2004 Jeep Grand Cherokee manual is a comprehensive and indispensable resource for every owner. It is your guide to understanding and optimizing your vehicle’s performance, safety, and longevity. With this manual, you can confidently navigate the world of vehicle ownership, knowing you have the knowledge and tools to maintain and enhance your SUV; It is a vital companion for every adventure, offering peace of mind and assurance on every drive. The manual’s scope and purpose are aligned with the needs of modern drivers, providing a detailed and user-friendly guide for all aspects of vehicle care. It is a testament to the commitment of Jeep to delivering exceptional ownership experiences. This manual is your key to understanding and optimizing your Jeep Grand Cherokee, ensuring it remains a trusted and reliable companion for years to come. It is a must-have resource for every owner, offering clear and concise guidance for every situation. The 2004 Jeep Grand Cherokee manual is a comprehensive guide designed to empower owners with the knowledge they need to maintain and enjoy their vehicle. It is a vital tool for anyone who values performance, safety, and longevity. The information provided is detailed and accessible, making it easy for drivers of all experience levels to benefit. This manual is your go-to source for all aspects of vehicle ownership, ensuring you are always informed and confident. It is a trusted resource that will serve you well throughout your journey with the Jeep Grand Cherokee. The manual’s purpose is to educate and empower, offering a clear and concise guide to vehicle care and operation. It is a must-have for anyone who wants to get the most out of their SUV. The 2004 Jeep Grand Cherokee manual is a comprehensive and indispensable resource for every owner. It is your guide to understanding and optimizing your vehicle’s performance, safety, and longevity. With this manual, you can confidently navigate the world of vehicle ownership, knowing you have the knowledge and tools to maintain and enhance your SUV. It is a vital companion for every adventure, offering peace of mind and assurance on every drive. The manual’s scope and purpose are aligned with the needs of modern drivers, providing a detailed and user-friendly guide for all aspects of vehicle care. It is a testament to the commitment of Jeep to delivering exceptional ownership experiences. This manual is your key to understanding and optimizing your Jeep Grand Cherokee, ensuring it remains a trusted and reliable companion for years to come; It is a must-have resource for every owner, offering clear and concise guidance for every situation. The 2004 Jeep Grand Cherokee manual is a comprehensive guide designed to empower owners with the knowledge they need to maintain and enjoy their vehicle. It is a vital tool for anyone who values performance, safety, and longevity. The information provided is detailed and accessible, making it easy for drivers of all experience levels to benefit. This manual is your go-to source for all aspects of vehicle ownership, ensuring you are always informed and confident. It is a trusted resource that will serve you well throughout your journey with the Jeep Grand Cherokee. The manual’s purpose is to educate and empower, offering a clear and concise guide to vehicle care and operation. It is a must-have for anyone who wants to get the most out of their SUV. The 2004 Jeep Grand Cherokee manual is a comprehensive and indispensable resource for every owner. It is your guide to understanding and optimizing your vehicle’s performance, safety, and longevity. With this manual,
1.2 Key Features of the 2004 Jeep Grand Cherokee
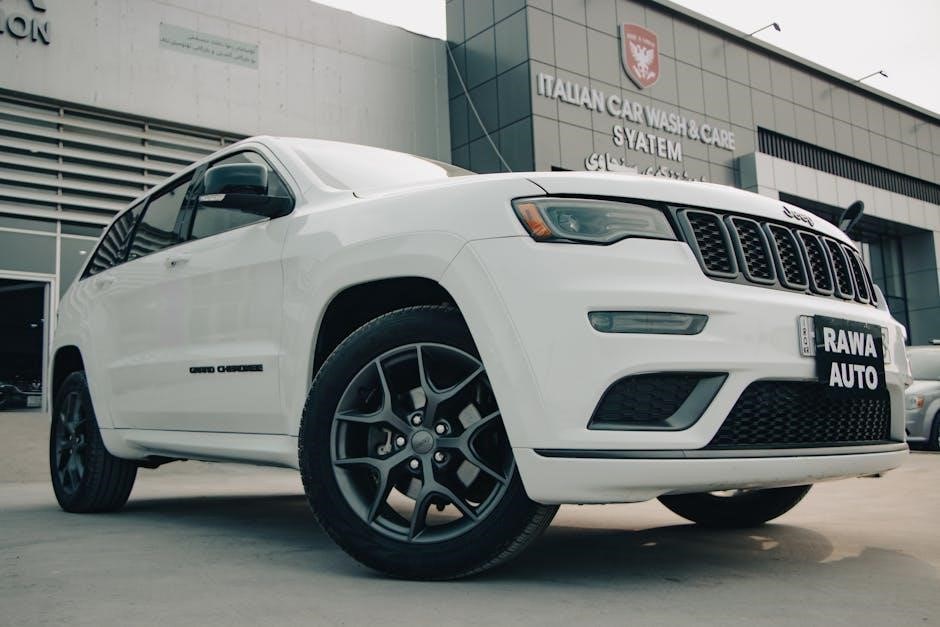
The 2004 Jeep Grand Cherokee boasts powerful engine options, including a 4.0L inline-six and a 4.7L V8, with an optional 5.7L HEMI V8 for enhanced performance. It features three trim levels: Laredo, Limited, and Overland, offering varying levels of comfort and luxury. The SUV includes advanced safety features like multiple airbags and stability control, ensuring a secure driving experience. Its robust design and versatile capabilities make it ideal for both on-road and off-road adventures, providing a perfect blend of power, comfort, and reliability.

Vehicle Overview and Specifications

The 2004 Jeep Grand Cherokee is a mid-size SUV offering a balance of on-road comfort and off-road capability. It features a spacious interior, with up to 71 cubic feet of cargo space, and is available with engines ranging from a 4.0L inline-six to a powerful 5.7L HEMI V8. Three trim levels—Laredo, Limited, and Overland—cater to diverse preferences, from essential amenities to luxury upgrades.
2.1 Engine Options: 4.0L, 4.7L, and 5.7L
The 2004 Jeep Grand Cherokee offers three powerful engine options. The 4.0L inline-six delivers 195 horsepower, ideal for everyday driving. The 4.7L V8 produces 230 horsepower, offering enhanced performance. The 5.7L HEMI V8 is the most powerful option, generating 330 horsepower and 375 lb-ft of torque, perfect for towing and off-road adventures. All engines are paired with a smooth five-speed automatic transmission.
2.2 Trim Levels: Laredo, Limited, and Overland
The 2004 Jeep Grand Cherokee is available in three trim levels: Laredo, Limited, and Overland. The Laredo provides essential comfort features, while the Limited adds luxury elements like leather upholstery and premium audio. The Overland offers advanced features, unique styling, and enhanced off-road capabilities, catering to adventurous drivers seeking a blend of style and performance.
2.3 Dimensions and Cargo Space

The 2004 Jeep Grand Cherokee offers ample space for passengers and cargo. It features a roomy interior with comfortable seating for five, generous head and shoulder space, and a maximum cargo capacity of 71.7 cubic feet when the rear seats are folded. The vehicle’s dimensions ensure practicality for both daily use and off-road adventures, making it a versatile choice for various needs.

Maintenance and Service Intervals
Regular maintenance is crucial for the longevity of your 2004 Jeep Grand Cherokee. Follow the recommended service schedule to ensure optimal performance and prevent potential issues. Always check fluid levels, tire pressure, and adhere to the manual’s guidelines for proper vehicle care.

3.1 Recommended Service Schedule
Adhere to the recommended service schedule to maintain your 2004 Jeep Grand Cherokee in optimal condition. Oil changes are required every 5,000 to 7,500 miles, while tire rotations should occur every 8,000 miles. Brake inspections are recommended every 15,000 miles, and belts should be replaced at 90,000 and 105,000 miles. Regular maintenance ensures longevity and prevents costly repairs.
- Oil change: Every 5,000–7,500 miles
- Tire rotation: Every 8,000 miles
- Brake inspection: Every 15,000 miles
- Belt replacements: At 90,000 and 105,000 miles
3.2 Fluid Checks and Replacements
Regular fluid checks are crucial for maintaining your 2004 Jeep Grand Cherokee. Engine oil should be checked every time you refuel and changed every 5,000–7,500 miles. Coolant, brake, and transmission fluids should be inspected every 15,000 miles. Differential gear oil should be replaced every 30,000 miles. Always use the recommended fluid types to ensure optimal performance and prevent damage.
- Engine oil: Change every 5,000–7,500 miles
- Coolant: Inspect every 15,000 miles
- Brake fluid: Check every 15,000 miles
- Transmission fluid: Inspect every 15,000 miles
- Differential gear oil: Replace every 30,000 miles
3.3 Tire Pressure and Rotation Guidelines
Proper tire pressure and rotation are essential for optimal performance and safety. Check tire pressure monthly and before long trips, ensuring it matches the manufacturer’s recommendations (typically 35 PSI for most models). Rotate tires every 8,000 miles to ensure even wear. Refer to the owner’s manual for specific patterns and guidelines. Always inspect the spare tire and ensure it is ready for use.
- Tire pressure: Check monthly and before trips
- Rotation interval: Every 8,000 miles
- Spare tire: Regularly inspect and maintain
Operating the Vehicle
Mastering the controls and understanding driving techniques ensures a safe and enjoyable experience. Familiarize yourself with the instrument panel, steering wheel controls, and gearshift. Practice driving in various conditions, adapting to both on-road smoothness and off-road challenges. Always follow safety guidelines and maintain proper vehicle handling to maximize performance and safety.
4.1 Controls and Instruments
The 2004 Jeep Grand Cherokee features an intuitive instrument panel with essential gauges, including the speedometer, tachometer, fuel level, and temperature. Controls for climate, audio, and cruise control are conveniently located on the steering wheel and center console. Familiarize yourself with these components to ensure safe and efficient operation. Proper use of controls enhances driving comfort and overall vehicle performance.
4.2 Driving Tips for On-Road and Off-Road Conditions
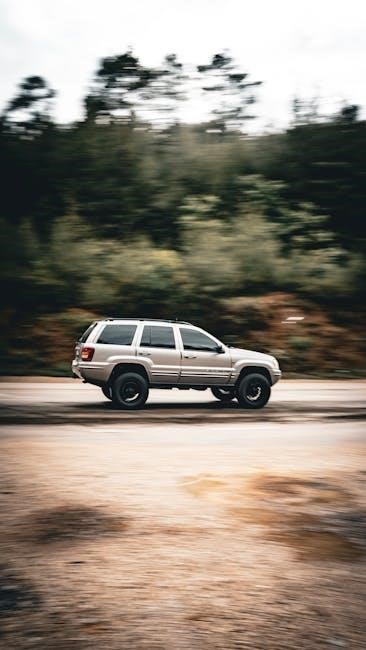
For optimal performance, adjust your driving based on conditions. On-road, maintain steady speeds and proper tire pressure for stability. Off-road, engage four-wheel drive and reduce speed for better control. Avoid sudden maneuvers to prevent skidding. Regular tire rotations and checks ensure even wear and traction, enhancing both on-road handling and off-road capability effectively.

Troubleshooting Common Issues
This section helps identify and address common issues in your 2004 Jeep Grand Cherokee. It covers warning lights, error codes, and solutions for engine, transmission, and electrical problems, ensuring swift resolution and optimal performance.
5.1 Diagnosing Warning Lights and Error Codes
This section explains how to interpret and resolve warning lights and error codes in your 2004 Jeep Grand Cherokee. It provides a guide to understanding dashboard indicators, such as the check engine light, and outlines steps to diagnose issues using OBD-II scanners. Referencing the manual ensures accurate troubleshooting, helping you identify and address problems efficiently to maintain optimal vehicle performance and safety.

and Additional Resources
5.2 Solutions for Common Problems
This section provides practical solutions for common issues in the 2004 Jeep Grand Cherokee. It addresses problems like engine stalling, transmission slipping, and electrical malfunctions. The manual offers troubleshooting steps for faulty sensors, low battery warnings, and fluid leaks. By following these guidelines, owners can resolve issues efficiently, minimizing downtime and ensuring reliable performance. Always refer to the manual for detailed repair instructions and safety precautions.